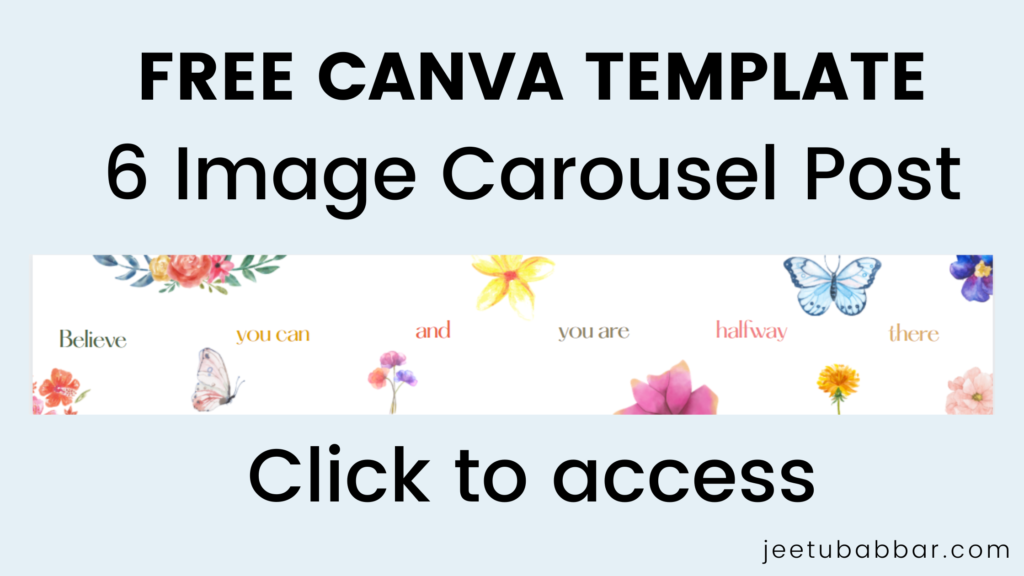
Instagram carousel posts (swipe multiple images) can help convey a lot of value, highlight multiple products, and share a series of great images that help you connect with your viewers. It’s a good way to go.
Of course, you can upload multiple photos, up to a total of 10. But how cool does a carousel post look with images and elements that span multiple frames? And how fascinating is your audience swiping to see what happens next?
Instagram carousel posts are very easy to create. You can even create it with Canva, the most popular design tool!
How to make an Instagram carousel post using Canva:
- For this, you must have a Canva account. (Canva is a graphic designing tool that helps to create beautiful designs). So create an account in canva or log into your existing account.
- Now click on the “ create a design” at the right corner. Then select a custom design. Now here you need to do little math. Create a custom design with the required number of images for a 1080px height and 1080px width carousel
- Now if you want to make a 6 images carousel post then select height 1080px and width 6480px (that is 1080*6 px).
If you want to create a seamless Instagram carousel in Canva with a different number of visuals, here are the dimensions you need.
- 2 visuals per carousel: Width: 2160 px ( 1080*2 ) x height 1080 px
- 3 visuals per carousel: Width: 3240 px ( 1080*3 ) x height 1080 px
- 4 visuals per carousel: Width: 4320 px ( 1080*4 ) x height 1080 px
- 5 visuals per carousel: Width: 5400 px ( 1080*5 ) x height 1080 px
- 6 visuals per carousel: Width: 6480 px ( 1080*6 ) x height 1080 px
- 7 visuals per carousel: Width: 7560 px ( 1080*7 ) x height 1080 px
- 8 visuals per carousel: Width: 8640 px ( 1080*8 ) x height 1080 px
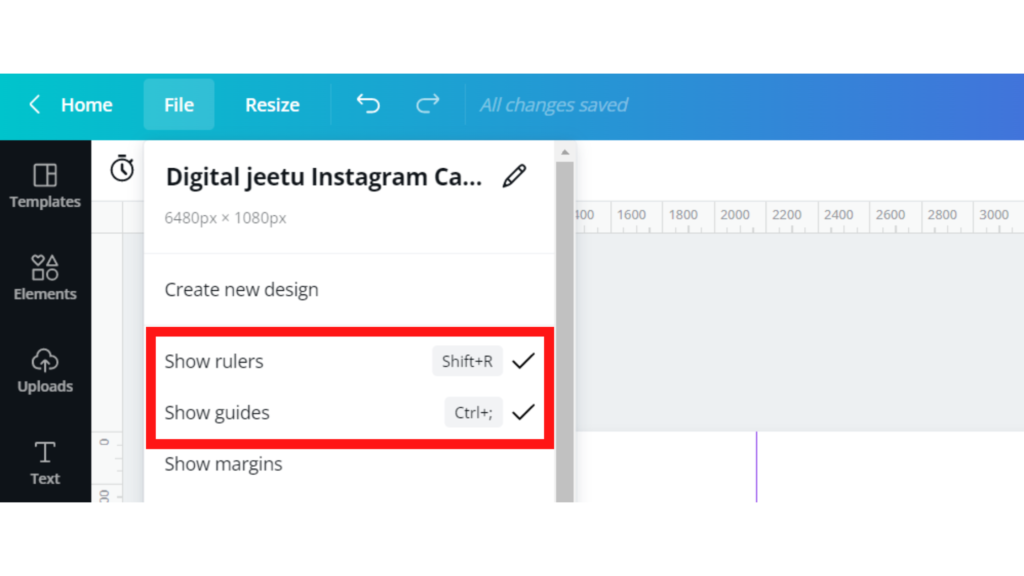
- After selecting the dimensions, Now click on “create a new design”. A screen will appear. The first important thing to do is add guides to see where the joints will be. To do this, click on File and then on Show Rulers, then on File, and then on Show Guides.
- Then move the mouse pointer over the vertical ruler until the cursor changes to a double arrow, hold down the mouse button, and drag and release the guide to 1080px. If you want to do this for every 1080px, so it’s 2160px, 3,240px, 4,320px, and 5,400px. (If you want the carousel to be more than 6 images, continue).
It will look something like this
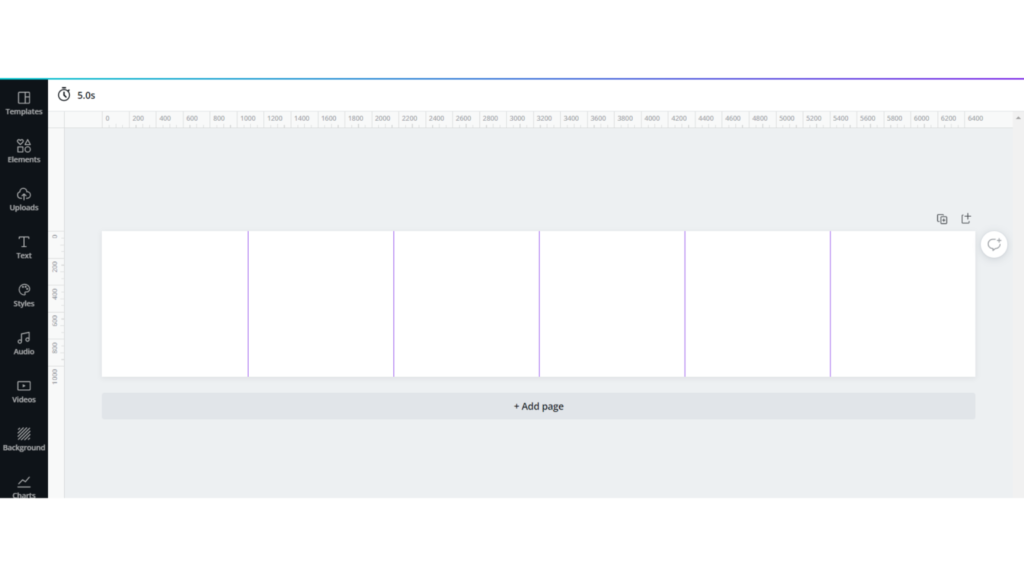
I have created a template for you to save your time. Click on the image to get access it.
Once you’ve accessed the template, click File> click on show ruler > then click on the guides to turn on the guides in Canva.
6. Now you are ready to create your design. Add some elements to your design. This will encourage the audience to swipe across the post. When you’re happy with the finished design, download it as a PNG file.
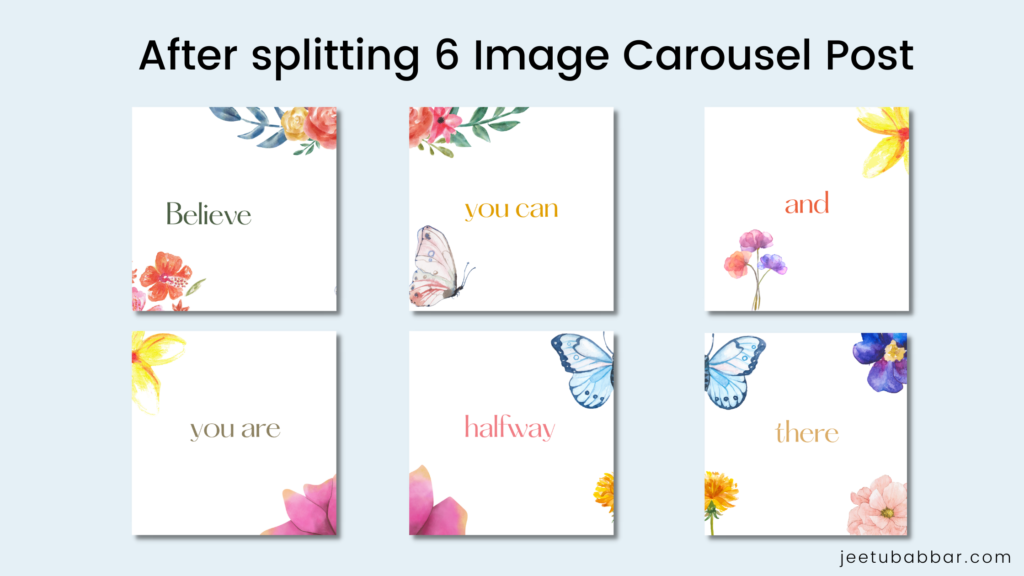
7. Next, you need to split the long image into six separate images. To do this, go to PineTools Shared Image Tools tool name
8. Now scroll down a little, then click on the images. Again scroll down, then click on the split image ( it will appear on the left side ). A screen will pop up.
9. Now input your image by uploading it from your device. Then you need to split horizontally, by equal height, with the number of blocks equal to the number of images, in this case, it is 6:
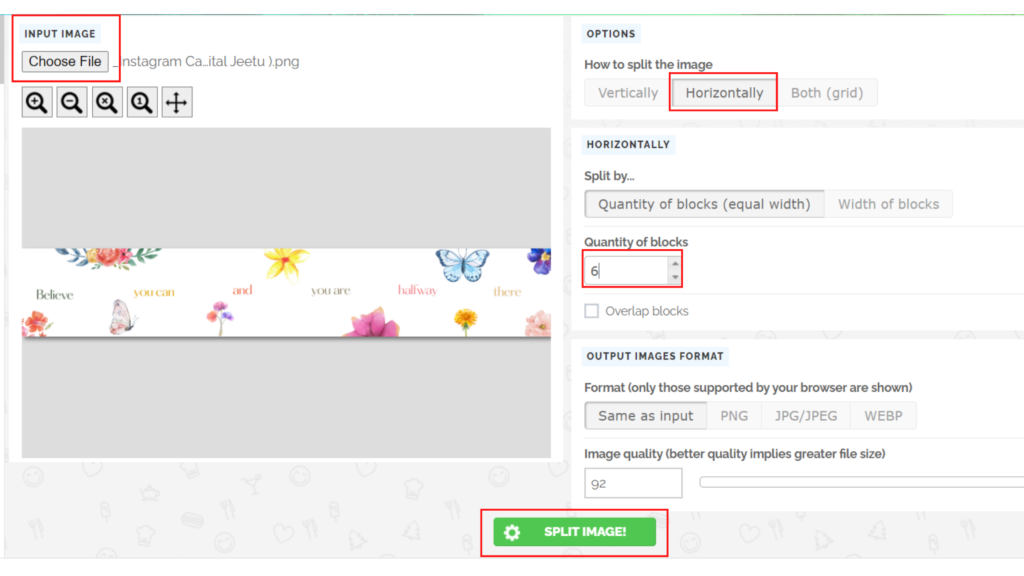
10. Select PNG as an Output images format then click split images.
11. You now have 6 separate images to upload to Instagram (in the correct order)! You can share it on your mobile phone and upload it directly, or you can upload it from your computer using the Facebook Business Suite. Alternatively, you can post or schedule later using a third-party tool such as Later, buffer, or Publer.
Do you want video instructions on how to create an Instagram Carousel Post using Canva?
I have created a Free Canva course for you. You can Watch the module ” How to create a Carousel Post” in easy language.
So do not waste time to think just click on the below button to get access.
If you have any doubt let me know in the comment section.
Thanks for your time and patience
.
